Thursday 25 October 2012

Typography Workshop Two.

The personality and voice of Century Schoolbook:


Good branding option:


Bad branding option:


Kerning:
  • space between letters
  • operates around letter combinations
  • identify the largest space in the word and adjust the others accordingly
  • even amount of space between letters
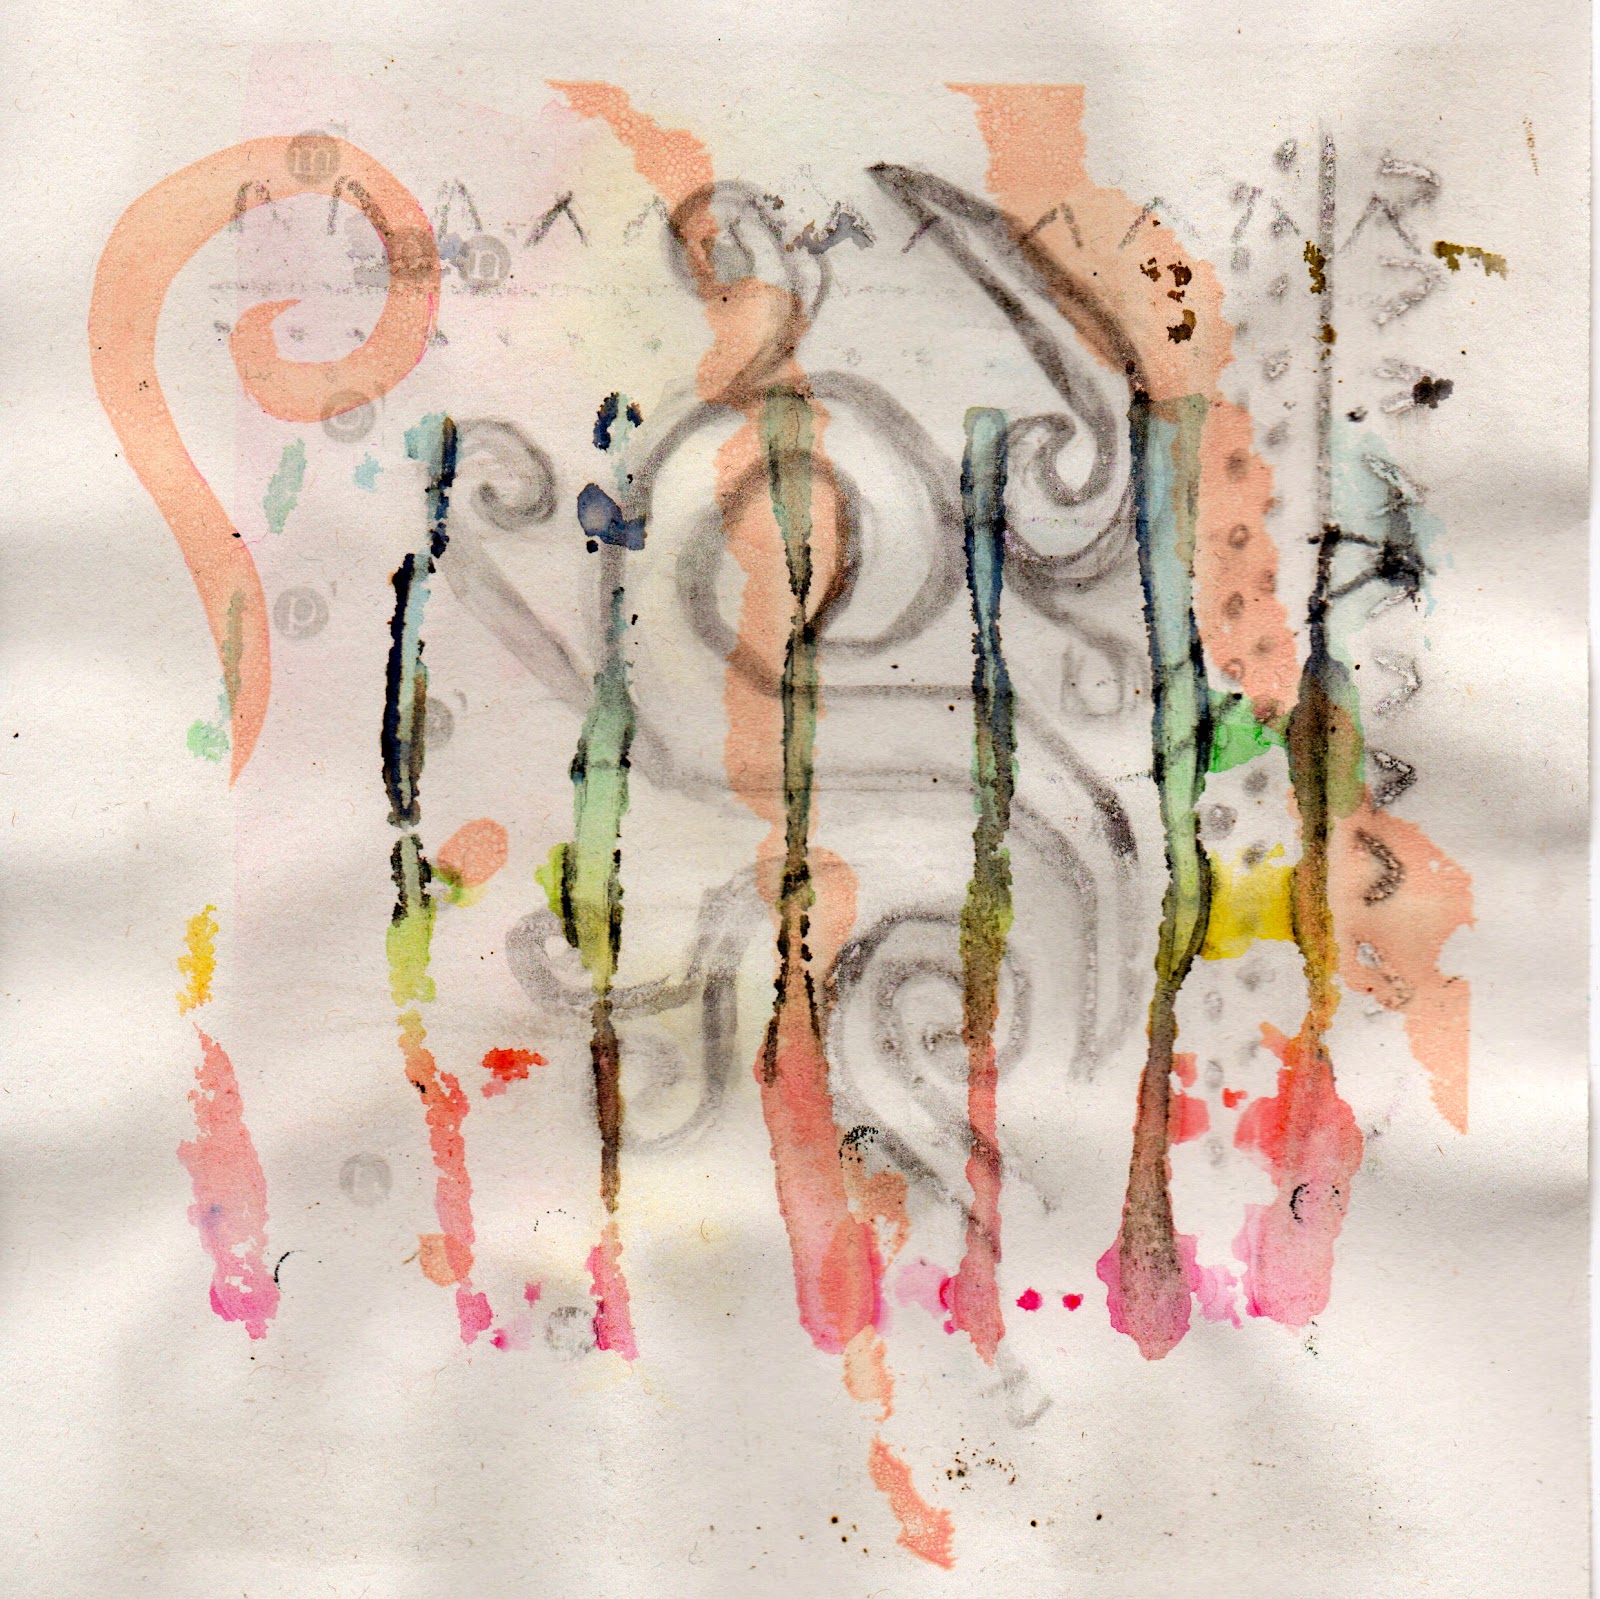
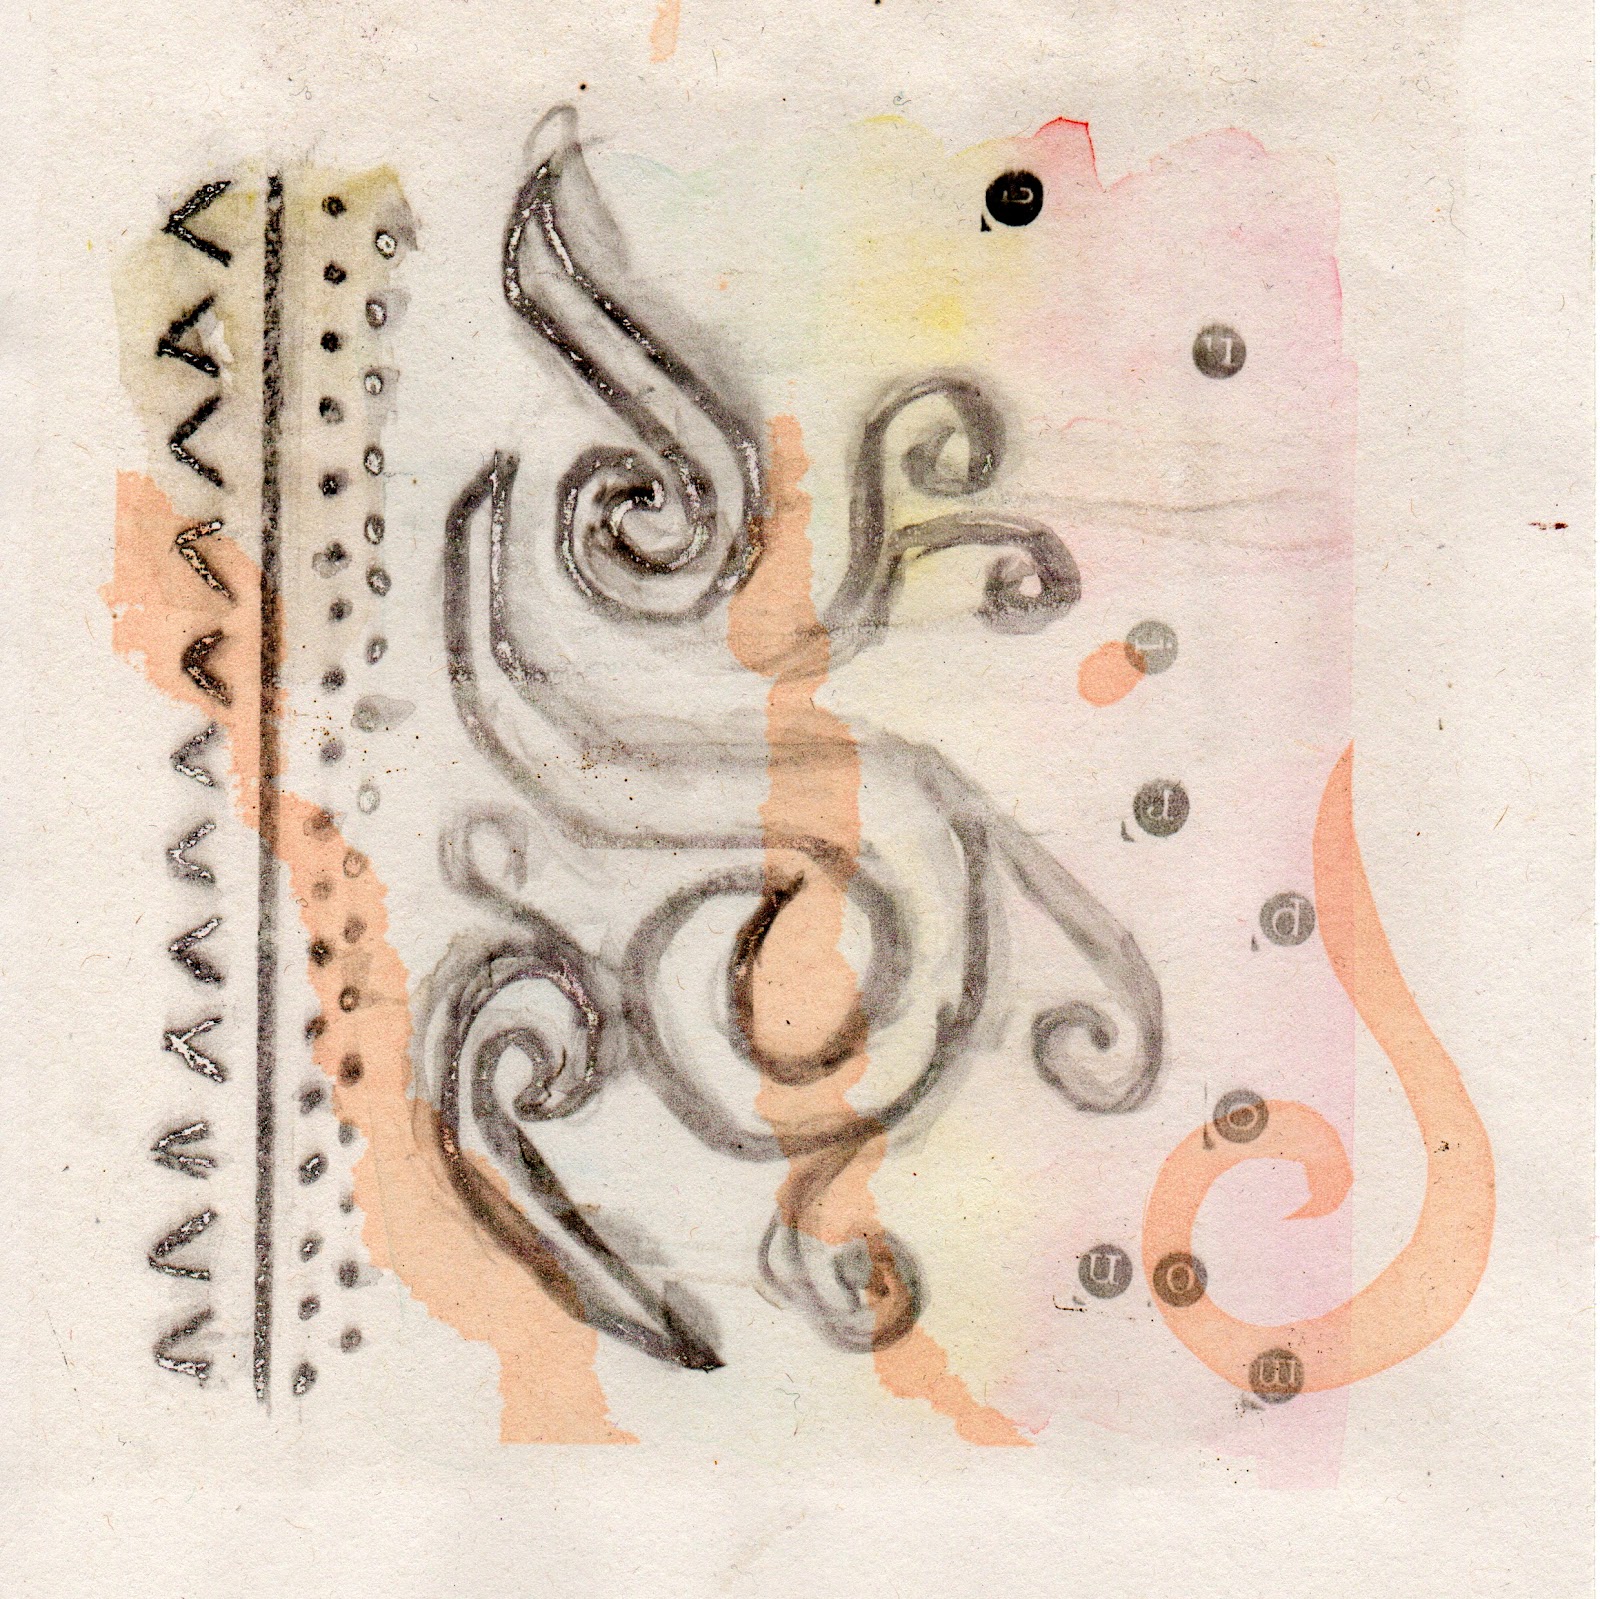


Experiment:

We are trained to read in certain ways like in the first example. The task was to get someone to read 'one, two, three' but not in a standard way. To do this you could utilise weight, point size, case and alignment.


We then had to do the same but the size, weight and font had to remain the same.


With the first examples positioning like this you would expect to read 'three, two, one' but in fact it is 'two, three, one'. With the second example you are still drawn to 'two' first but because it is upside down 'three' gets read first. Finally with the last example your eyes still follow the same path: middle, top, bottom but the 'one' gets read first. This is an example of a subtle form of hierarchy.

Wednesday 24 October 2012

Design for Web Workshop One - The Basics.

Websites and reactions:

  • ollymoss.com - empty space, dark
    • made using indexhibit  - website where you can create a website for free

  • malikafavre.com - grid, animated, busy
    • made using cargo - online web authoring website, content is initially there


Three questions:
  1. what is the purpose of the website you are creating?
  2. who is the target audience?
  3. what do the target audience need?
Applying these questions to our brief:
  1. displaying our work, contact information, networking, get a job
  2. agencies, studios, potential clients, other freelancers (collaborations)
  3. contact details, work, cv, past clients, who you are and what you're doing
How else could we determine these answers?
  • research other websites
  • focus groups - talk to the target audience

Common aspects on websites:
  • navigation
  • type
  • image

Internet history:
  • invented 1990
  • first image 1992
  • video and audio around 10 years ago

Limitations for designing for web:
  • physical size
    • system preferences, screen size
    • design for lowest common denominator 800x600 although a common choice is 1024x1710
  • resolution
    • 72
    • 96 pixels per inch since 2000, although everyone still works with 72
    • retina display is 227
    • to get around this you could have a horizontal scroll
  • font
    • fonts on computers if used for commercial use you have to pay for it
    • you must specify a font family, you can create your own
    • very limited range
    • some websites use custom fonts
    • making type an image - makes the type not searchable in google (seo)
    • create a web kit - download a custom font and instal it into a website, although even if it is a free font you may still need to buy a license because you are distributing the font
  • colour
    • RGB
    • every screen across the world has different variations of RGB
    • you must use web safe colours - smaller range than RGB
    • you need to know the hexadecimal code to specify colours

Helpful books:
  • HTML and CSS: Design and Build Websites - Jon Duckett
  • CSS Mastery

Website language:
  • HTML
    • hyper text mark up language
    • used to create every single website
    • very limited in terms of what it can do
    • if you only used html you could only display text
  • CSS
    • cascading style sheet
    • along with html the two main scripted languages
  • WYSIWYG
    • what you see is what you get
    • dreamweaver
  • URL
    • uniform resource locator
  • FTP
    • file transfer protocol
    • sending a file from one computer to another
  • CMS
    • Content management system
    • blog/Facebook etc

Work flow
  • get brief
  • put together scamp
  • produce three variations
  • client chooses a design
  • design gets signed off
  • decide whether the client or designer will mange the content

Creating a y-frame/scamp:
  • dimensions: 1024x768
  • font family: arial, helvetica, sans serif
  • alignment: centre
  • background: white
  • content box: white
  • navigation: top, 70%, centre
  • pages: 4
  • grid: 3x3

Introduction to Web Design.

Purposes of a website
  • promotion
  • informing
  • persuasion
  • contact
  • (entertainment)

Audience
  • target audience
  • never everyone, even if it is a broad range of people

Defining factors of a website
  • user-ability - does it work well?
  • aesthetics - does it look good?
  • functionality - does it work?

Designing
  • design off screen


Group page ideas:
  • landing page (introduction to portfolio/slideshow)
    • argument against people should be able to choose where they want to look, audience could loose attention, unnecessary
    • top notch designers can maybe get away with it
    • why is it there? what is the point? if you can't justify it, don't have it
  • contact page
    • email
    • telephone
    • address - makes people more confident you exist
    • social networking - twitter, Facebook etc
    • shop - etsy, big cartel etc
    • the information you feel comfortable people having
    • information can also be put elsewhere
    • could be a footer rather than a separate page
  • bio/about page
    • where you studied
    • work placements
    • do people care?
    • can add quirky flavour
  • CV
    • selected work
    • clients - major companies can add professionalism
    • exhibitions
    • previous experience
    • education
    • timescale
    • if you're freelance a cv is maybe not necessary
    • can be creative to further promote your work, doesn't have to be the standard format
  • portfolio
    • examples of work
    • separated into different areas although could be too much clicking, time wasting, narrowing down starts to look smaller than it actually is
  • shop
    • buying prints
    • etsy store etc
  • blog
    • current projects
  • homepage
    • branding 
    • links
    • name 
    • job title
    • news/updates - shows you're an active designer
    • teaser - one image of design, thumbnails
    • could be minimalist, but people still need to be impressed by it, needs to be inspiring
    • manifesto
    • about information
  • fees
    • easy access for a potential client
    • could seem like you're only interested in money
    • most designers don't include because prices can vary so much, can depend on clients and type of job
  • categorisation is important


My design:


I based my design on ideas we had been taking about throughout the workshop and aspects I had noticed I liked on current websites I had seen during my research. I liked the idea of having a logo as a central piece of the design so I organised the navigation links around it. I selected pages that I thought would be relevant. I really liked the idea of the news feed that was suggested so I included it in the main section of the layout. I also included


My personal feedback:


Common feedback:
  • clean layout
  • unoriginal - good aesthetics but nothing special/stand out
  • navigation - should remain constant throughout the pages
  • scroll bars - unnecessary
  • redundant features
  • KISS - keep it simple stupid
  • grids - using this in the drawing stages will really help when you move onto digital
  • logo could be used as home link

Tuesday 23 October 2012

Design for Print Workshop Five - Booklet.

Creating a booklet
  • how you bind your book will determine how many pages you have
  • saddle stitch - folded sheets, multiples of four
  • perfect binding - single sheets e.g ring bound
Simple 8 page booklet
  • two pieces of paper printed on each side, folded and bound
  • what we see on screen is described as readers spreads, appear on screen exactly how they would when printed. How they will be arranged etc
  • InDesign will reorder the pages for us, although it is useful to be able to know ourselves by maybe making a mock up or by creating a two column table left and right and fill the column with the number of pages in the book. Page 1 is always the first on the right hand side, then zigzag left to right down the colomns. Keep going until you're halfway through the pages then work your way back up. Afterwards to work out what will be printed on each page of paper divide the lists into groups of four

  • to add page numbers go onto the a master frame and draw a text box
  • then go to type > insert special character > markers > current page number
  • this will add an 'A' to the master page but numbers to the normal pages
  • drag this across to the facing master page and it will apply it to the rest

  • once the content is on the pages it needs to be printed
  • select 'print booklet'
  • you can select multiple binding options
  • also click 'print blank pages'post 


  • if you have a bleed you must choose a paper size larger than the page you are designing on
  • if you are doing something double sided make sure you centre your work
  • to double side print click the 'printer' dialogue box, then select 'short-edge binding' from the 'two-sided' option

  • post script is the langue that your digital file is converted to when you go to print
  • post script fonts and true type fonts
  • similar to a pdf file
  • select post script file on the printer option and then adobe pdf on the PPD
  • can be any size all the way up to A0
  • the printer option isn't available because it is being saved for another time
  • you can also add crop marks etc
  • then click 'print', it will create a file to save
  • once this is done you won't have to worry about linked files
  • preview converts it into a temporary pdf file, you can then take this to the digital resource centre to print

Monoprint Workshop.

I have recently taken part in a monoprinting workshop. It is something I have never done before and initially it took a while to get my head around as I didn't know the process.

We started off by getting a clean screen and drawing a design straight onto it, I used water colour paints, crayon and stamps. After finishing this stage the screen got set up ready to print. We used clear binder to transfer the design from the screen to the paper. With monoprinting you can only get a few prints before the colours and shapes begin to fade. After this section I ripped and cut out a paper stencil, this then got attached to the screen and I used a fluorescent orange ink to print with, I like how this part created a layered effect.

When looking through the samples you can tell which ones were the first to the printed as they are the most clear and bright. On the bright rainbow one the vibrant lines were created by the design getting transferred onto another piece of stock whilst I was painting it, I am very pleased with this one. If I was to take part in this process again I would do a very different design as I now have a much better understanding of the technique.


Print Process Workshop Three - Stock.

Seven things to know about print:

Based on a model for lithographic printing
  1. Colour Models
    • CMYK - print/physical
    • RGB - screen
    • hexachrome - business, dots
    • spot colour
    • PMS (pantone matching system)
  2. Formats
    • ISO paper sizes
    • A and SRA sizes
    • imperial vs. metric
    • tabloid (compact), broadsheet, berliner
    • envelope 'C' sizes
  3. Stock
    • weight (gsm)
    • finish - gloss, silk, matt, coated, uncoated
    • laid or wove
    • boards/carton - more 3D
    • lots more variations
    • plastics and acetates - non paper based
  4. Artwork
    • document set up
    • file, formats and fonts - printer may not have font, notify for own designed font
    • spell check
    • colour specification
    • printer marks
    • pre-flight check - looking through, getting others to check
    • mock ups
    • proof
    • sign off (really important)
  5. Print Processes
    • lithographic
    • gravure
    • screen print
    • flexography
    • pad printing
    • six colour
    • laminate
    • foil blocking
    • embossing/debossing
    • spot UV varnish
  6. Finishing
    • binding - different types
    • folding and creasing
    • die stamping/cutting - stamp = remove inside, cut = cut around outside
    • drilling
  7. Costs
    • get a quote early on, before you start the job if possible
    • identical specification for three print estimators to work to
    • learn roughly what things cost (unit costs)
    • understand viable minimum quantities
    • extras/author corrections
    • delivery
Stock definitions:
  • Coated paperCoating is a process by which paper or board is coated with an agent to improve brightness or printing properties. By applying PCC, china clay, pigment or adhesive the coating fills the miniscule pits between the fibres in the base paper, giving it a smooth, flat surface which can improve the opacity, lustre and colour-absorption ability. Various blades and rollers ensure the uniform application of the coating. Different levels of coating are used according to the paper properties that are required. They are divided into light coated, medium coated, high coated, and art papers - art paper is used for the high quality reproduction of artwork in brochures and art books. Available in gloss, satin and matte.
  • Uncoated paperNot all paper is coated. Uncoated paper is typically used for letterheads, copy paper, or printing paper. Most types of uncoated paper are surface sized to improve their strength. Such paper is used in stationary and lower quality leaflets and brochures. It is generally more absorbent than coated paper. 
  • Wove - Paper made on a closely woven wire roller or mold and having a faint mesh pattern. Popular for stationary and book publishing. It has a uniform surface not textured like laid paper.
  • Laid - Premium quality paper with a textured pattern of parallel lines, similar to hand made paper. Commonly used for business stationary.
  • Bond - It is a high quality durable paper, often used for copying or laser printers. A higher bond stock that can be used for letterheads.

Stock examples: