- how you bind your book will determine how many pages you have
- saddle stitch - folded sheets, multiples of four
- perfect binding - single sheets e.g ring bound
Simple 8 page booklet
- two pieces of paper printed on each side, folded and bound
- what we see on screen is described as readers spreads, appear on screen exactly how they would when printed. How they will be arranged etc
- InDesign will reorder the pages for us, although it is useful to be able to know ourselves by maybe making a mock up or by creating a two column table left and right and fill the column with the number of pages in the book. Page 1 is always the first on the right hand side, then zigzag left to right down the colomns. Keep going until you're halfway through the pages then work your way back up. Afterwards to work out what will be printed on each page of paper divide the lists into groups of four


- to add page numbers go onto the a master frame and draw a text box
- then go to type > insert special character > markers > current page number
- this will add an 'A' to the master page but numbers to the normal pages
- drag this across to the facing master page and it will apply it to the rest


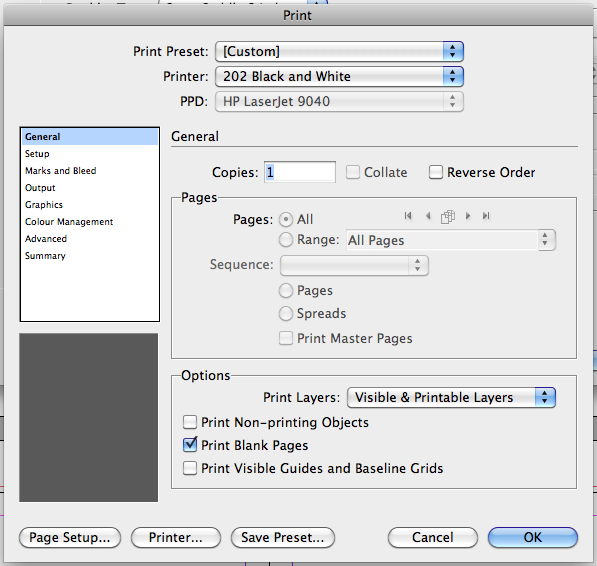
- once the content is on the pages it needs to be printed
- select 'print booklet'
- you can select multiple binding options
- also click 'print blank pages'post

- if you have a bleed you must choose a paper size larger than the page you are designing on
- if you are doing something double sided make sure you centre your work
- to double side print click the 'printer' dialogue box, then select 'short-edge binding' from the 'two-sided' option

- post script is the langue that your digital file is converted to when you go to print
- post script fonts and true type fonts
- similar to a pdf file
- select post script file on the printer option and then adobe pdf on the PPD
- can be any size all the way up to A0
- the printer option isn't available because it is being saved for another time
- you can also add crop marks etc
- then click 'print', it will create a file to save
- once this is done you won't have to worry about linked files


- preview converts it into a temporary pdf file, you can then take this to the digital resource centre to print
No comments:
Post a Comment