I have never done foiling before so I was really excited to see how it would turn out. We decided to use the laminator process as it seemed a lot more time effective. We started by gathering some images together and printing them off with a laser printer. Then cut the foil to size, place in the envelope and post through the laminator. I was surprised at how easy and quick this was and the end results were really successful.


My first experiments were for my logo designs. I wanted to see what style looked best and whether they were legible. I also experimented with different sizes to see how small I could go before the design lost clarity. I found they all worked well apart from the smallest where the writing became unreadable. I also experimented with different foil colours, I think the holographic option will work best with my designs as it will fit well with the varied colour theme. I also think I prefer The linear logo as even though the block foil is eye-catching I would rather have the more simplistic appearance.


My type experiments are very clear and I think it will look effective applied to a product. The example on the left I have used multiple pieces of foil to create a collaged look I think this gives a really interesting appearance.


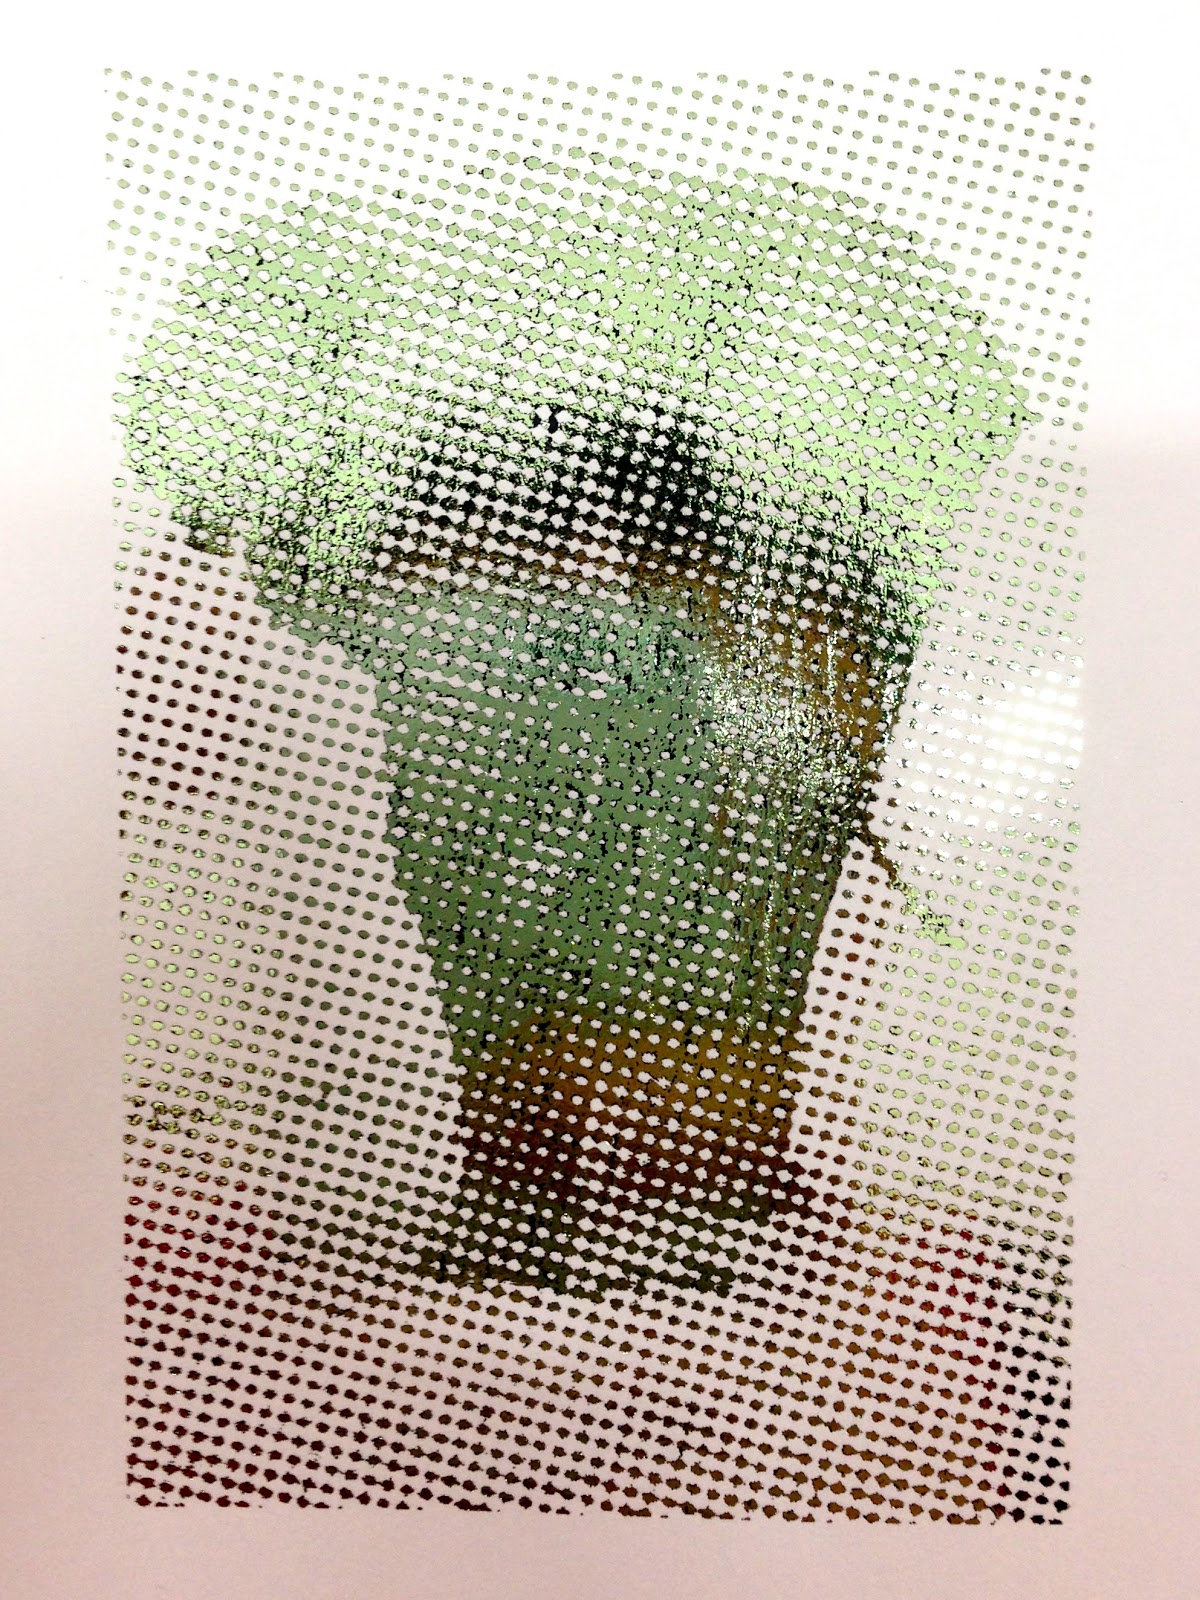
Finally I used my halftone image. I printed out different variants, from high frequency dots to a larger more spaced out option. I like how the foil gives a textured appearance and I like how the light reflects of it creating different tones. The halftone is also a good way to be able to create an image using this technique.

No comments:
Post a Comment